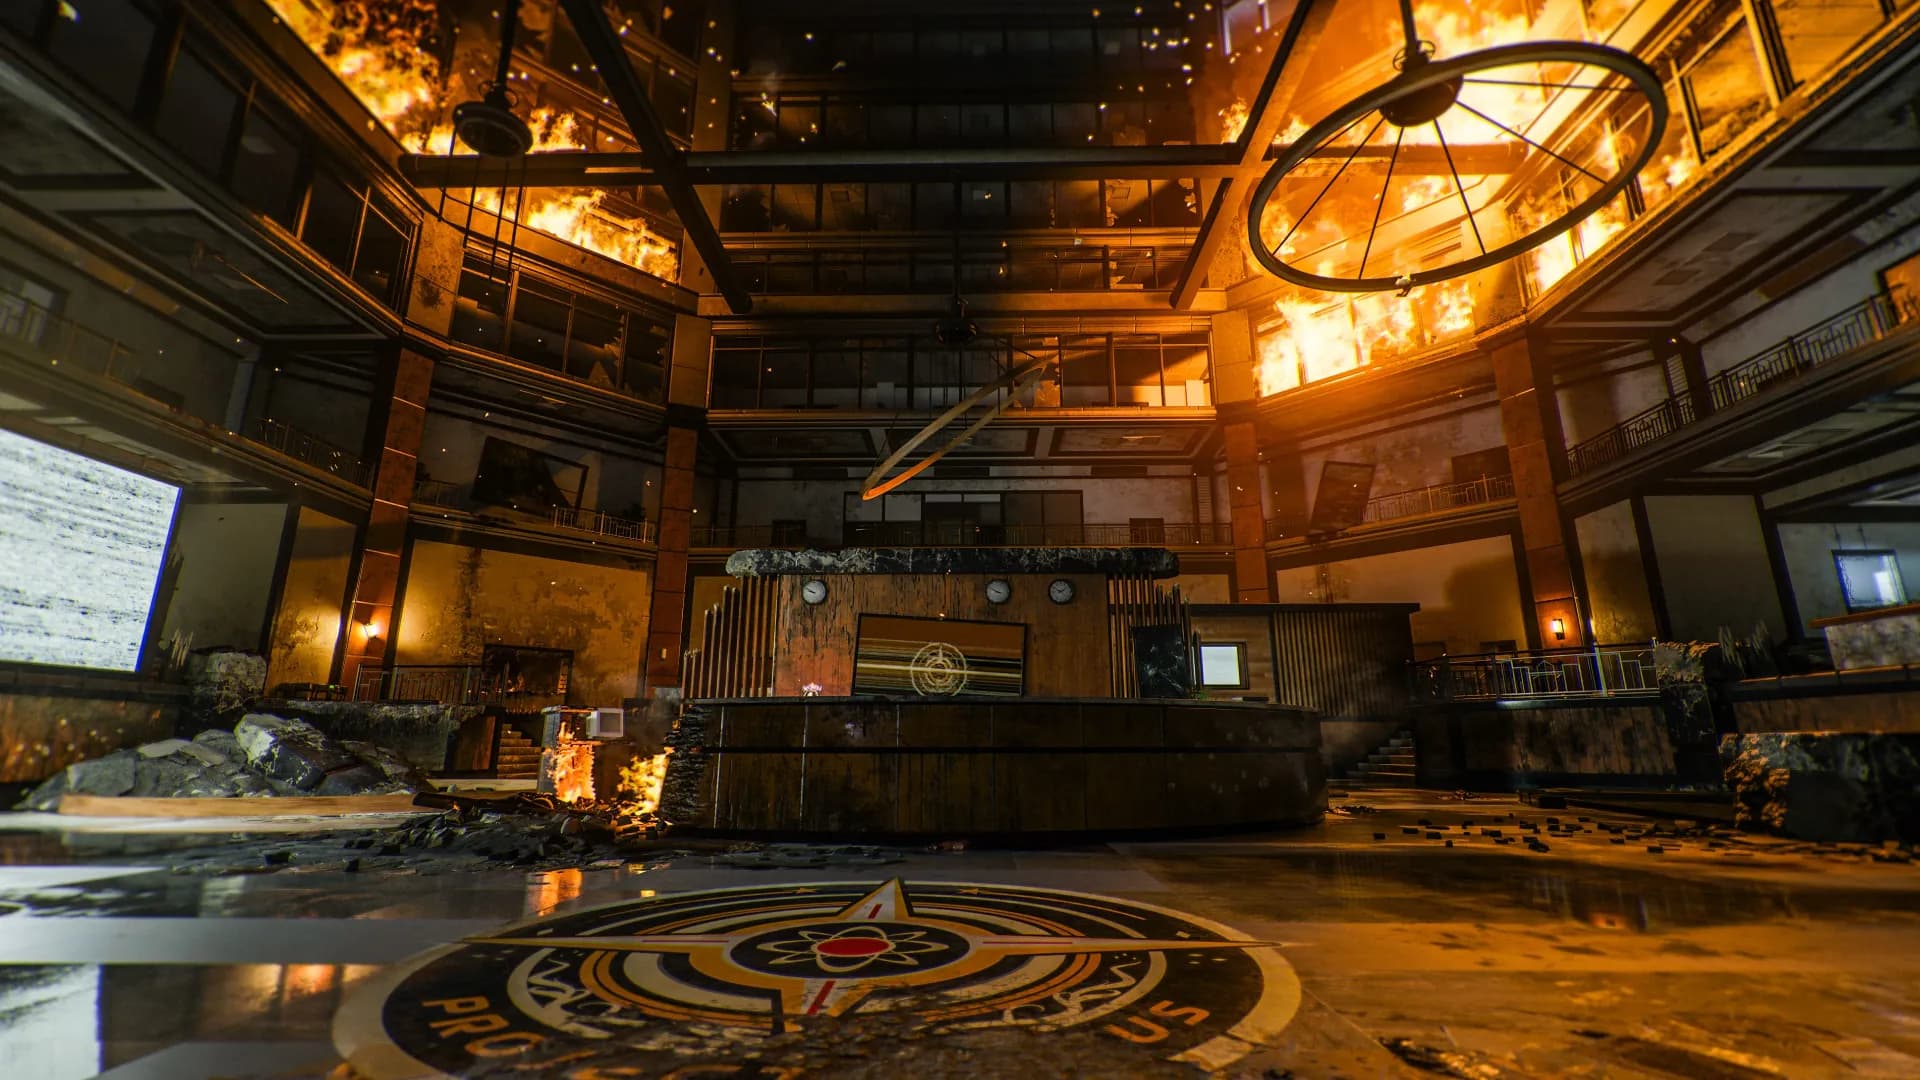
Hardcore Bossfight
Hardcore Bossfight
This side quest has players reach Round 100 to then enter the final encounter of the Main Quest to fight the final boss of your choice for an increased challenge.
Requirements
- All Main Quest Steps Completed
- Gorgofex Necrodystonia
 Double Standard major augment for
  Double Tap
 Tribologist minor augment for
  PHD Flopper
 Picky Eater minor augment for
  Vulture Aid
 Burst Dash major &
  Extension minor augments for
  Aether Shroud
 Free Faller major &
  Hard Target minor augments for
  Stamin-Up
 Supercharged major augment for
  Speed Cola
Remember that you can Save & Quit so you don't have to get Round 100 all in one run and can take your time. This is a longer Round 100 than any other map, likely going to take over two hours.
Recommended Loadouts
| Main Weapon | Field Upgrade | Lethal | Tactical |
|---|---|---|---|
| ABR A1 | Semtex | Combat Stim/Smokes | |
| GPR 91 | Semtex | Combat Stim/Smokes | |
| Maelstrom | Semtex | Combat Stim/Smokes |
Only run the Maelstrom if you are doing the S.A.M. boss fight. You can choose to run Combat Stims or Smokes, smokes can allow you to get a full 10-seconds of damage in on S.A.M. or Uber Richtofen without being targeted, but, you can only carry two and there are some edge cases where the smoke may not work.
High-Round Strategy
You can choose to turn on the Rampage Inducer to help speed up the rounds until Round 55.
Head to the T1 Mutant Research Lab mystery box location, where you'll camp on the outside section, spamming the charged shot of the Gorgofex Necrodystonia at the door to kill zombies. Once you reach around rounds 40-50+, you'll need to utilize Shock Charges to stun the horde of zombies and primarily the Doppelghast coming through.
In those higher rounds, you will also need to move around a bit to avoid some zombies as the Gorgofex Necrodystonia and Shock Charges will not be enough to stop a few zombies from leaking through. If you ever do get pushed out of the camping spot, make a loop around the area back towards the camping spot to reset.
Special Rounds
During the special round, head to the absolute right of the T1 Mutant Research Lab, next to the launcher to the
T2 Android Assembly, and all the Kommando Klaus robots will spawn out of the one zombie spawn
directly in front of the launcher, which you can easily take out with your main weapon equipped with ![]() Cryo Freeze.
Cryo Freeze.
Uber Klaus Rounds
During rounds where an Uber Klaus spawns, you'll want to make sure you have a Death Machine, then
![]() Aether Shroud into him to stun him, and quickly kill him with the Death Machine.
If more than one spawns and you do not have a second charge, throw a Shock Charge down to stun him, and then kill him with
the Death Machine.
Aether Shroud into him to stun him, and quickly kill him with the Death Machine.
If more than one spawns and you do not have a second charge, throw a Shock Charge down to stun him, and then kill him with
the Death Machine.
S.A.M. Bossfight
Before heading into this boss fight, ensure that you have a Death Machine, Combat Stims or Smokes, and full
Aether Shroud charge. The lift stages before the actual boss fight are no different from the original boss fight.
The main difference in this fight is the fact that she will immediately have her slightly advanced movement during her
Spinning Volley attack from her final phase from the start of this fight. Besides that, the fight is identical to the
original fight with no real strategy differences. Wait for her Laser Attack to finish, activate ![]() Aether Shroud,
and pump as much damage as you can into her weak points.
Aether Shroud,
and pump as much damage as you can into her weak points.
The second time around, you likely will not have an ![]() Aether Shroud charge and will just
have to try and damage her as much as possible while avoiding the zombies, and then farm zombies to gain your charge back.
Remember that she is also vulnerable during her Spinning Volley attack, but you should mainly focus on surviving that attack.
Aether Shroud charge and will just
have to try and damage her as much as possible while avoiding the zombies, and then farm zombies to gain your charge back.
Remember that she is also vulnerable during her Spinning Volley attack, but you should mainly focus on surviving that attack.
During the S.A.M. Trials between phases, ignore the objective and focus on charging your field upgrade. You'll get a temporary grief that you'll have to wait for to go away before you can continue the fight. If you get Ammo Drain as your grief, make sure you buy more ammo before it his zero; otherwise, it'll start to consume your field upgrade charge.
Finally, when her health is under 20%, during her next Laser Attack, activate your Death Machine and destroy her weak points and lay into her core to do a ton of damage, likely killing her on the spot. If she doesn't die, you'll just have to wait for another opening.
Richtofen Bossfight
Before heading into this boss fight, ensure that you have a Death Machine, Combat Stims or Smokes, and full
Aether Shroud charge.
During the lift stages of this boss fight, there will be Uber Klaus Cores disguised as Maintenance Klaus that you should immediately focus on using the Death Machine, and then continue doing the normal objective. These will also spawn on the second stage of the lift, so always have the Death Machine out when on the lift.
Make sure to buy a new Death Machine at the crafting table on the second stage before heading up to the final boss arena.
Phase 1
During this phase, you'll want to constantly run around the outer edge of the arena, shooting at Uber Richtofen weak points, ignoring the Uber Klaus Core robots that spawn in, and constantly sliding to avoid their ranged electrical attack.
The reason you want to ignore the Uber Klaus Cores is due to the fact they will constantly respawn throughout the fight, and are extremely tanky, so it is best to just ignore them for the majority of the fight.
You'll want to do this the entire fight until his health gets below 20% and then take out your Death Machine and now kill all the Uber Klaus and Uber Klaus Cores as they won't respawn, and then finish off Uber Richtofen.
Try your absolute best to not use your
Aether Shroud during this phase, as if you do it is likely you will not be able to get another charge for the second phase, decreasing your chances of survival significantly.
Phase 2
Immediately entering this phase, Richtofen when start doing his drive-by nuke attack and then fly back up into the air
before dropping down again with his Wunderwaffe DG-2. Immediately after he touches down for the second time, activate your
![]() Aether Shroud and spray into his Jetpack for maximum damage.
Aether Shroud and spray into his Jetpack for maximum damage.
If you land every shot, you'll be able to phase him with one mag and can begin farming a new
![]() Aether Shroud by killing zombies. If you weren't able to phase him, you'll need to
constantly be on the move to avoid his Wunderwaffe DG-2 shots and only shoot at him while behind cover,
being sure you are never standing still.
Aether Shroud by killing zombies. If you weren't able to phase him, you'll need to
constantly be on the move to avoid his Wunderwaffe DG-2 shots and only shoot at him while behind cover,
being sure you are never standing still.
Rinse and repeat when he drops, activate your now charged ![]() Aether Shroud lay into
his Jetpack, where you should again be able to phase him in one mag, and then begin farming a new charge until you
eventually beat him.
Aether Shroud lay into
his Jetpack, where you should again be able to phase him in one mag, and then begin farming a new charge until you
eventually beat him.
It is very likely that you'll defeat this phase, in three short loops of laying into him in
Aether Shroud, farming it back up again, and then repeating. If you ever do not have a
Aether Shroud while he is on the ground with his Wunderwaffe DG-2, be constantly moving and only damaging him while behind cover.
Video Guides
Round 100 Bossfight Guide by MZC
Credits
Some images were sourced from the following community members:

Points Challenge
Learn how to obtain a Free Random Perk Power-Up inside of your game while completing one of the Main Quest steps.

Aetherella Companion
Learn how to enable this dormant Aetherella figurine to become a strong companion helping you kill zombies for a few rounds.
