Paradox Junction
Main Quest
This main quest has our crew attempt to break out of the Warden's temporal prison.
Requirements
- Unlock Pack-a-Punch via on-screen objectives
- Explosive Lethal or Weapon
- Combat Axe
- Molotov
-
 Wisp Tea
-
 Death Perception
 Brain Rot or Psych Grenade
Recommended Loadouts
| Start Weapon | Field Upgrade | Lethal | Tactical |
|---|---|---|---|
| M34 Novaline | Semtex/Molotov/Combat Axe | Decoy | |
| MXR-17 | Semtex/Molotov/Combat Axe | Decoy |
Recommended GobbleGums
| Solo GobbleGums | Co-op GobbleGums |
|---|---|
A lot of these steps can be done in any order, and everytime you complete a Dog Round, you will be transported to the alternate version of the map, so keep that in mind.
Step 1: Obtain the Blundergat
The Barrel
In the Destroyed version of the map, you can find multiple Loot Cysts on the walls of the different houses around the area. One of which will be emitting an ethereal like sound indicating that it is the one containing the Barrel part for the Blundergat.
Kill zombies near this Loot Cyst to fill it with souls. Once enough souls have been collected, the Loot Cyst will explode with loot containing the Barrel part for the Blundergat.
The Hammer
In the Destroyed version of the map, you'll find a SO3 vial in the Yellow House Upstairs which you can interact with to pick up. Once obtained, head to the Green House kitchen and interact with the sink full of water to create a vial of H2SO4.
Once you have the vial of H2SO4, walk near every mannequin in the Destroyed version of the map until you find one that is emitting an ethereal sound and make note of the location of that mannequin. Afterward, head to the Normal version of the map and interact with that same mannequin to place the acid from the vial onto that mannequin.
Once placed, head back to the Destroyed version of the map and go to the mannequin location to find it dissolved with the Hammer part of the Blundergat revealed for you to pick up.
Bug: There seems to currently be an issue where in some games the mannequins will not emit any sound. If this is the case for you, you will need to just pour the acid on every mannequin and keep refilling it, until you eventually find the one that has the The Hammer.
The Stock
In the Destroyed version of the map, you can find these black growths on three walls: Yellow House Garage, Green House Stairs, and Trinity Ave. One of these growths will be emitting an ethereal sound indicating that it is the wall the Stock part is located behind, which you must remember the location of.
In the Normal version of the map, head to that same location where you found the ethereal-sounding growth and blow a hole in the wall with some explosive (e.g. a Semtex). Head back to the Destroyed version of the map and that same wall will now be exposed with the Stock part of the Blundergat revealed for you to pick up.
Sealant
In the Normal version of the map, head to the Yellow House Upstairs bedroom and in the bottom left corner of the shelf in that room you'll find a Sealant that you can pick up by interacting with it.
Assembling the Blundergat
In the Destroyed version of the map, purchase the door to the truck in the Cul-de-Sac area to reveal the workbench for the Blundergat. Melee this workbench to open it and place all the parts then hold interact to assemble the Blundergat for you to claim.
Step 2: Obtain the Sundergat
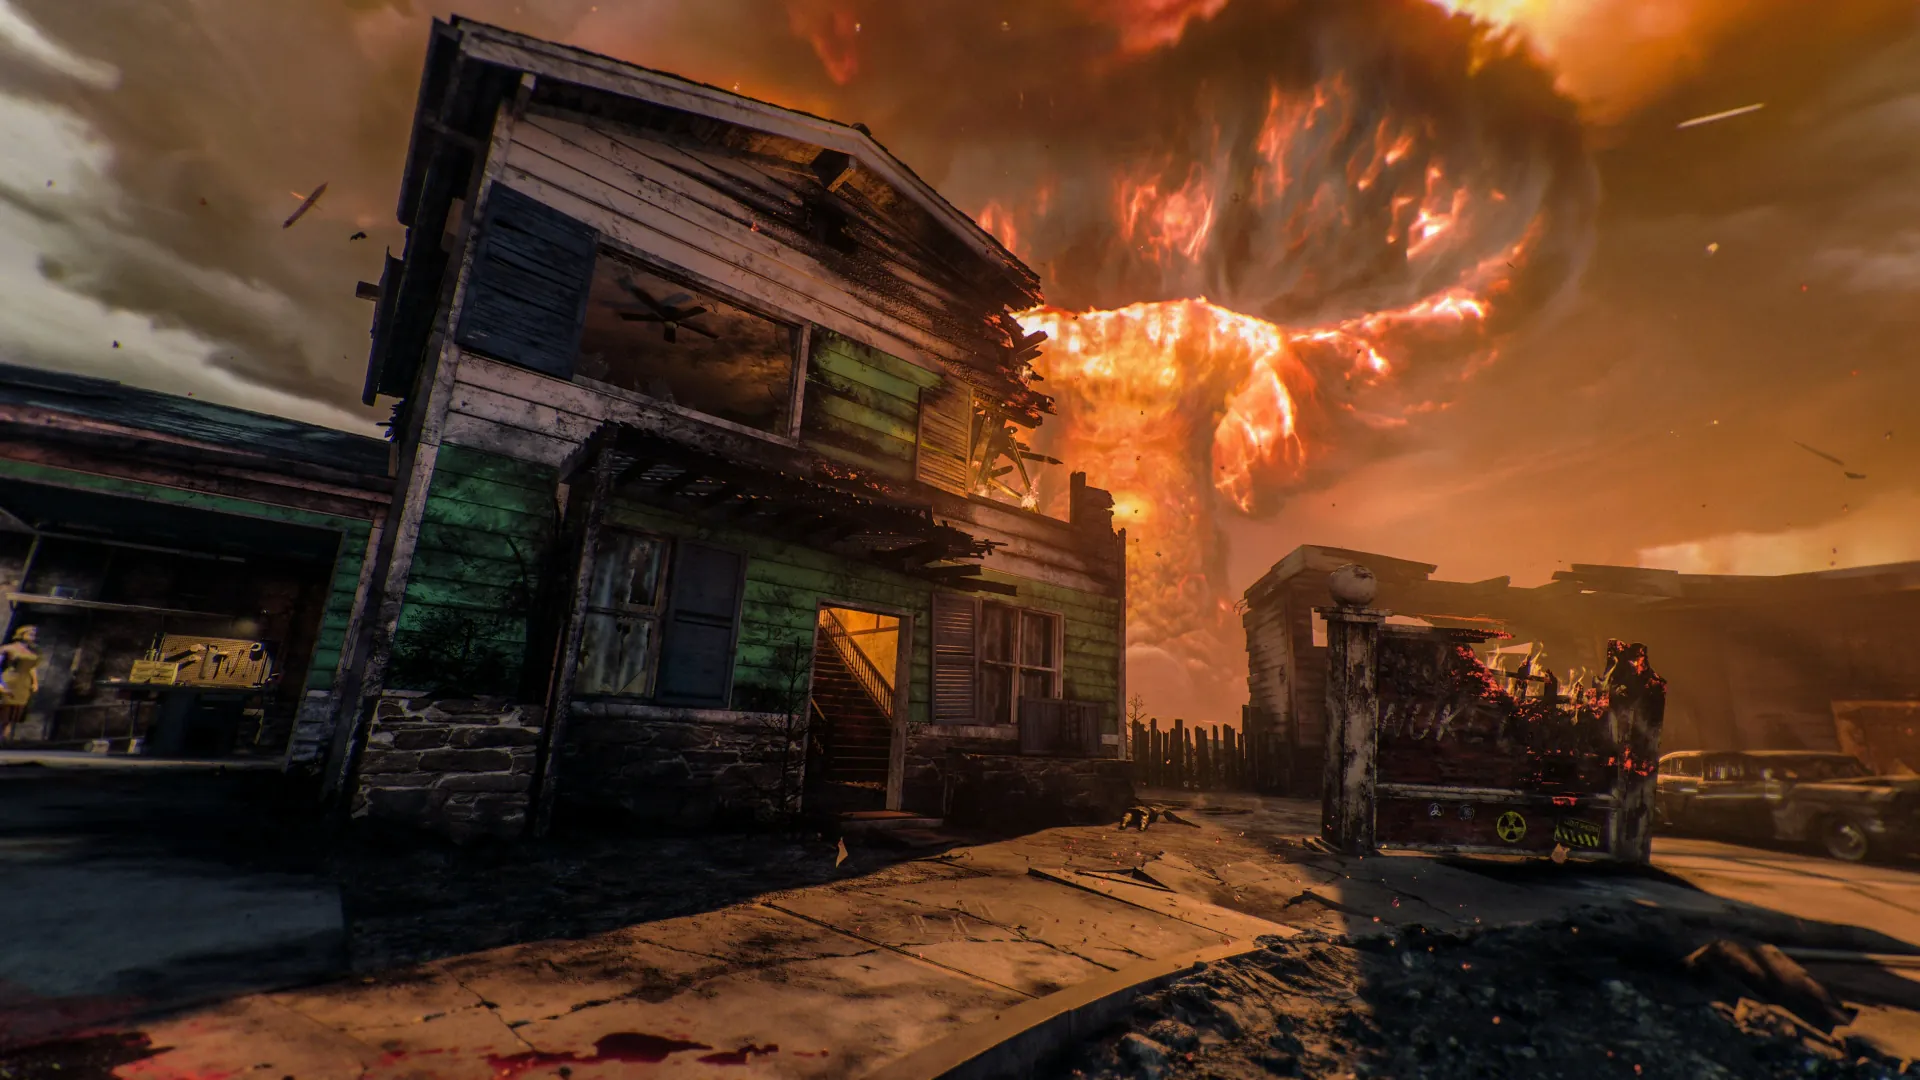
Progress a couple of rounds in the Destroyed version of the map until a fire tornado appears, spawning a Tortured Zombie once approached. This tornado can spawn in three possible locations: Yellow House Backyard, Green House Backyard, or Trinity Ave. in the alleyway. You must keep normal zombies away from this Tortured Zombie as you lead it towards the Blundergat workbench, where you must kill it with the Blundergat once it is in front of the workbench.
Ensure you thin out the round before approaching the tornado so you have less zombies to deal with. Decoys are amazing to help keep zombies away from the Tortured Zombie.
Repeat this process two more times, with the final time spawning a Shock Mimic instead of a zombie. Once you've done this three total times, head to the Normal version of the map, melee the workbench and place the Blundergat inside. Finally, head back to the Nuked version of the map, melee the workbench again, and interact with the Holistic Dichotomizer (Sundergat) to claim it.
Step 3: Build the Twins Swing
Ensure you have all doors opened in both variants of the map before starting this step.
In the Normal version of the map, head to the Yellow House Backyard and shoot the swing set seat off the swing and interact with it to pick it up. Then, in the Destroyed version of the map, there are three possible locations for an RC-XD controller that you can interact with to trigger a race where you'll need to follow the path given and make a jump into a garage and detonate next to the barrel by the garage door. The three possible locations are:
Do not worry about boosting during the race, instead focus on timing the jump from the final ramp over the barriers to get into the garage.
Once the garage door is blown open, head inside and after a few seconds, the stone statue will fade away and a piece of chalk will appear where it was that you can interact with to pick up. Head to the Yellow House Backyard and place the swing set seat on the swing and interact again to place the chalk, complete this step, and start a mini-cutscene.
Step 4: Obtain the Music Box
Head to the Yellow House Garage and interact with the red toolbox on the shelf, right of the trap switch, revealing some Irradiated Seeds you can interact with to pick up. Afterward, teleport to the Normal version of the map and plant the seed in the dug up hole in the ground in Trinity Ave. left of the Pack-a-Punch machine.
You must now kill zombies with any variant of the Blundergat to fill it with souls, until your screen flashes white and you get a Max Ammo indicating it is full. You'll now need to head to the same location in the Destroyed version of the map and throw three Combat Axes at the fully grown tree to get three pieces of Strange Firewood.
Once you have all three pieces of Strange Firewood, head back to the Normal version of the map and place the firewood into the fireplace in the Yellow House, and throw a Molotov onto the wood to ignite it.
In the Destroyed version of the map, head to Trinity Ave. where there will now be a white "X" on the ground in front of the alleyway which you must stand on until it is glowing blue and remains blue when you step off.
Once the "X" is glowing blue even after stepping off, head to the same location in the Normal version of the map and the twins should appear, drawing a game of Hopscotch onto the ground. Once they've finished drawing the game, a white orb will appear above the number one which you can interact with to switch into third-person and begin the game.
You must jump from the "1" to the "12" and back without touching any of the other squares or touching the shadow to complete this step. If you fail at any point, the orb will reappear in about 30 seconds for you to try again.
Once completed, a golden Music Box will appear which you must kill zombies near with the Sundergat to fill it with souls, enabling it to move towards the fireplace. Once the Music Box has reached the fireplace, your screen will flash white and a Max Ammo will spawn, completing this step.
Step 5: Obtain the Music Sheet
In the Destroyed version of the map, head to the Green House Backyard and stay there until a zombie named Piano Teacher spawns near the back of the backyard.
This zombie is much slower than the rest of the zombies, and you must turn this zombie using either ![]() Brain Rot or a
Psych Grenade.
Brain Rot or a
Psych Grenade.
Once turned, she will sprint to the piano inside the Green House and stand in-front of it, you must quickly teleport to the Normal version of the map and run up to the piano, where she will open the piano and begin playing before exploding.
You'll now need to find eight blue notes scattered around the Destroyed version of the map and interact with them in the order that they blink. All eight locations are always the same, but how many times each note blinks is randomized each game. The note that blinks once is the first note, the note that blinks twice is the second note, and so on. Below are all eight locations:
Reminder: You are interacting with these notes in the order that they blink, from one blink to eight.
Once you have interacted with all eight notes in the correct order, head to the Green House piano in the Normal version of the map to find all the notes on the wall indicating the order in which you need to play these notes on the piano. Luckily, these notes are always played in the same order, use the cheat sheet below provided by Doughnuts to make the order easy to remember.
If you fail to play the wrong notes, you can interact with the piano again after a short time without needing to flip the round.
If done correctly, you will hear a satisfying melody and a completion quote from your character. In the Destroyed version of the map, either in the Green House Backyard or the Yellow House Backyard, there will now be three floating zombies outside of the map that you must shoot to free their souls.
These floating zombies can actually be scattered across both backyards. However, it will always be just three floating zombies total.
Now in the Normal version of the map, head to Trinity Ave. to find the twins drawing a circle on the road, where a glowing ball will appear in the center. Interact with this ball, to begin the game where the ball will bounce, bringing zombies into the air, and you must shoot them all before they hit the ground.
You have
Mask of Benevolence augment, the wisp can potentially kill zombies before they've been launched up into the air, failing the mini-game.
If done correctly, a glowing Music Sheet will appear and just like the Music Box, you must kill zombies near it with the Sundergat to fill it with souls, enabling it to move towards the piano in the Green House, which once reached, your screen will flash white and a Max Ammo will spawn, completing this step.
Step 6: Obtain the Cymbals
In the Destroyed version of the map, head to Trinity Ave. and to the left of the Pack-a-Punch will be a pole with a bunch of speakers on it just outside the map.
Shoot the very top of the pole (not a speaker) to drop the Goggles on the ground, then activate ![]() Wisp Tea to have the wisp bring the Goggles into
the map for you to collect.
Wisp Tea to have the wisp bring the Goggles into
the map for you to collect.
Afterward, with ![]() Death Perception acquired, you'll need to look for a headset outline in one of three possible locations and interact with
it to pick it up:
Death Perception acquired, you'll need to look for a headset outline in one of three possible locations and interact with
it to pick it up:
With both items obtained, head to the Normal version of the map and place them inside of the Toy Box in Trinity Ave., then head back to the Destroyed version of the map and in the Green House Backyard, there will be a "X" on the ground where you need to bring a red ball that can be found in one of three possible locations.
Once you have located the red ball, you must shoot it with your weapon to knock it down and continue shooting it to roll it to the middle of the "X" in the Green House Backyard. If done correctly, the "X" will be glowing blue and you can teleport back to the Normal version of the map and head to the same location to find the twins drawing up another game, this time the "Four-Square" game.
Interact with the ball to begin the game with the goal of the game being to not let the ball bounce on the same square more than once consecutively. You must melee the ball to move it from square to square, and as long as it never bounces on the same square consecutively, the game will progress until the timer ends, completing the game and spawning in a glowing pair of Cymbals.
If you fail, you can try again after a short cooldown
You must kill zombies with the Sundergat near these Cymbals to fill it with souls, enabling it to move towards the Toy Box in Trinity Ave., which once reached, your screen will flash white and a Max Ammo will spawn, completing this step.
Step 7: Align the Clock Tower
In the Destroyed version of the map, shoot the hands of the clock on the clock tower so that both the red and white hands are on the 0, then begin teleporting to the Normal version of the map, and just before the animation completes, shoot the red hand on the clock once. If done correctly, a white orb will appear in the center of the map.
Follow this white orb, which will turn into the twins as it moves across the map from the piano, to the toy box, to the fireplace, and finally the swing set in the Yellow House Backyard, where a yellow portal will appear, prompting you to enter the Boss Fight.
Ensure you are fully prepared with all your perks, upgraded weapons, and equipment before continuing to the boss fight.
Step 8: Defeat The Dark Heart
Phase 1
During this phase, there will be three points on the map that will contain black goo from The Dark Heart, one at Trinity Ave., Yellow House Backyard, and Green House Backyard. Each point will have a Loot Cyst attached to it, which you'll need to destroy by filling it with souls, revealing one of the key items in the main quest.
Once all three Loot Cysts are destroyed, a Concentration Field will appear around one of the three items, which you'll need to defend from zombies so that the health of the Concentration Field does not drop to zero. You'll need to do this for all three items, afterward The Dark Heart will start spinning and will become damageable.
During this damage phase, The Dark Heart will be launching meteors and spawning fire tornadoes which you must avoid or will damage you. Focus on the glowing weak points to deal damage to the boss, and once all the weak points have been destroyed, the boss will become immune, completing this phase.
You can damage the boss from anywhere on the map, you do not need to be in the middle of the map.
Phase 2
This phase is similar to Phase 1, however instead of filling Loot Cysts with souls, you need to kill zombies spawned by the yellow orb floating above the goo, similar to the Pack-a-Punch unlock.
Besides that small detail, the rest of the phase is identical to Phase 1, with even more Rad-Hound zombies now spawning in as well to attempt to break down the Concentration Field and damage you during the damage phase. The Dark Heart will also be spinning a lot more, making it slightly harder to damage efficiently.
Focus on clearing out the Rad-Hound zombies before dealing damage to the boss as these enemies are extremely fast and can quickly overwhelm you if not taken care of first.
Phase 3
This phase is again similar to the other two phases. However this time a Tortured Zombie will spawn in the center of the map, that you must lead to each black goo and then kill it once you see it tethered to the goo. Similar to the Blundergat upgrade step, you must kill zombies near the Tortured Zombie to prevent it from dying.
Make sure you are constantly clearing out the Rad-Hound zombies as they will be almost non-stop spawning during this phase, and will overwhelm you if you aren't keeping them at bay.
You can optionally choose to stand by the black goo and let the fire tornado slowly make its way towards you, preventing the Tortured Zombie from taking damage, since all the zombies will be spawning near you. Once the fire tornado gets close enough or zombies stop spawning, you can approach the tornado to free the Tortured Zombie, and kill it once tethered to the black goo.
Shock Mimic zombies will now also be spawning alongside normal zombies and Rad-Hound zombies, making the defense of the Concentration Fields more challenging. The Dark Heart will also now constantly be spinning making it extremely difficult to damage efficiently. However, none of its attacks change.
Congratulations! You've completed the Paradox Junction main quest.
Video Guides
Guide by Doughnuts
Guide by MrDalekJD
Guide by MrRoflWaffles

Astra Malorum
In the cold depths of space, a century-old observatory guards a gateway to a dead world. Awaken the astronomer, defeat the mechanical guard, and liberate the celestial Shadowsmith!

Totenreich
A remote Norwegian fishing town trapped in time after Group 935 experiments warped the entire island into the Dark Aether.