
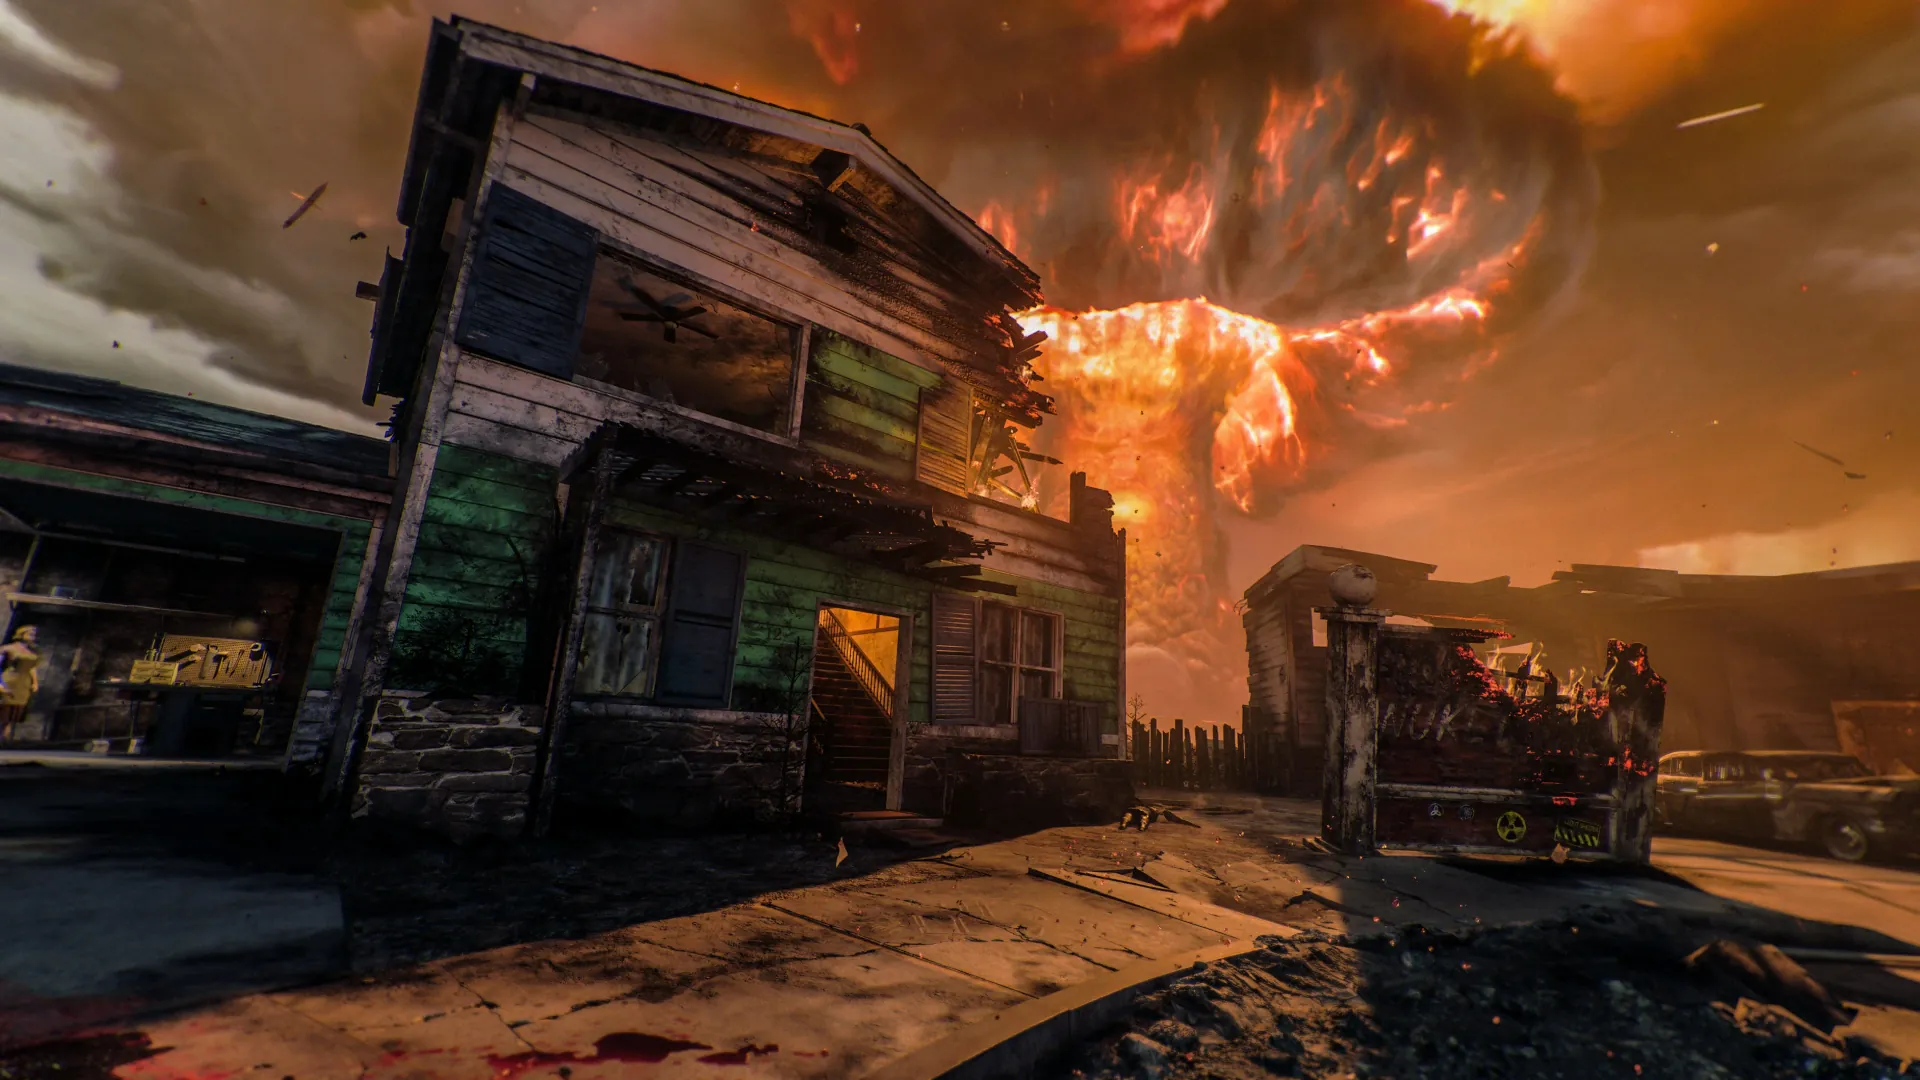
Astra Malorum
Main Quest
This main quest has our crew hunt down another Shadowsmith in hopes of restoring more of the souls of our crew members.
Requirements
Juggernog with the
Turtle Shell augment, and
PHD Flopper with the
Environmentalist minor augment are ESSENTIAL for surviving this boss fight, especially in the final phase.
Recommended Loadouts
| Start Weapon | Field Upgrade | Lethal | Tactical |
|---|---|---|---|
| Kogot-7 | Molotov/Combat Axe | Decoy/Stim Shot | |
| CODA 9 | Molotov/Combat Axe | Decoy/Stim Shot | |
| Jäger 45 | Molotov/Combat Axe | Decoy/Stim Shot | |
| M10 Breacher | Molotov/Combat Axe | Decoy/Stim Shot | |
| M34 Novaline | Molotov/Combat Axe | Decoy/Stim Shot |
The field upgrade you choose is completely up to your preference.
Aether Shroud is a great get-out-of-jail-free card, while
Frenzied Guard is one of the only ways to get armor back during the boss fight. If you are good at surviving, I would recommend
Recommended Gobblegums
| Solo GobbleGums | Co-op GobbleGums |
|---|---|
Step 1: Obtain the LGM-1
You'll need four parts to power three different contraptions around the map. Each part can be easily obtained immediately after turning the power on and can be obtained in any order.
Car Battery
Using a Pack-a-Punched weapon, head to the Crash Site and shoot Ol' Tessie until the hood pops open, revealing the Car Battery for you to pick up.
Aberrant Wiring
Run around the map looking for a flickering light post which you'll have to shoot to break the light and drop the Aberrant Wiring for you to pick up. This can be any of the light post found around the map.
Destroyed Drone
Wait for O.S.C.A.R. to spawn and alert him, causing him to put up his Drone Shield. Destroy one of the drones hovering around him, dropping it for you to pick up.
Absolute Zero Fragment
Using a weapon with the ![]() Cryo Freeze ammo mod equipped, shoot any three Aether Crystals found around the map, each of which will drop a
Absolute Zero Fragment that you can collect, until you have three of them.
Cryo Freeze ammo mod equipped, shoot any three Aether Crystals found around the map, each of which will drop a
Absolute Zero Fragment that you can collect, until you have three of them.
These crystals are fairly obvious to find since they glow bright purple, but if you want to see all possible spawn locations, you can view our interactive map
Activating the Contraptions
With all the necessary parts, you must now kill O.S.C.A.R. three times, once with each contraption. These can be done in any order, and the final contraption kill will drop the LGM-1 wonder weapon.
Luminarium Contraption
Head to The Luminarium and lure O.S.C.A.R. into the room with the trap. Once he is in the room, activate the trap for free to begin overcharging his battery. You don't have to shoot him at all, just keep him within the room until his battery is fully overcharged, destroying him and dropping a Shiny Trinket which you don't need to pick up.
Museum Infinitum Contraption
Head to the Museum Infinitum and in the room is a rocket relic that you can interact with the side panel of to place the three Absolute Zero Fragments into the exhaust of the rocket, starting a 5-second countdown, which when complete will blast all enemies behind the rocket. You must blast O.S.C.A.R. with this rocket blast to destroy him, and move onto the next contraption.
Observatory Dome Contraption
Head to the Observatory Dome where you'll have to shoot five total leaking valves in quick succession to re-adjust the contraption. There are many valves inside the room with one being near the Fast Travel portal which can be harder to hear if not close by. Listen out for the sound of steam hissing to find each valve.
Once all five leaking valves have been shot, the contraption will re-adjust itself. You'll now need to lure another O.S.C.A.R. onto the Pack-a-Punch platform, and just before he gets onto the platform, interact with the left side of the Harmonic Oculus (the organ piano), and move the crosshair up and point it at the sun.
If done correctly, the contraption will kick you off and start firing a giant laser in the center of the Pack-a-Punch platform. Lure O.S.C.A.R. into the laser, destroying him and dropping the LGM-1 wonder weapon, if this is the third contraption you've killed him with.
Step 2: Obtain the Cryo Chamber Key
I recommend turning on subtitles for this step if you haven't already, as it'll make retrieving the planet code easier.
Wait for another O.S.C.A.R. to spawn into the map, and follow him without being detected to hear the audio playbacks that he will randomly play. Listen out for the playback of a person named Thurston, who in that playback will name three planets. Once you have the three planets, the code is simply the order those planets appear in our solar system:
- Mercury = 1
- Venus = 2
- Earth = 3
- Mars = 4
- Jupiter = 5
- Saturn = 6
- Uranus = 7
- Neptune = 8
For example, my planets were Jupiter, Uranus, and Earth said in that order by the playback, so my code was 573.
Once you have the code, head to the Observatory Dome and enter the code into the machine near the Pack-a-Punch platform, which if inputted correctly will lower a platform near the Pack-a-Punch platform, with a dead body you can interact with to obtain the Cryo Chamber Key.
Step 3: Obtain the Perfusion Machine
Head to the Museum Infinitum and break open the rock saw display case, left of the rocket contraption, and interact with the Rock Saw to pick it up. Afterwards, head to the Machina Astralis and interact with the Cryo Chamber to open it, and then hold interact on the body to begin extracting the brain from their head.
With the brain obtained, head to The Luminarium and on the table near one of the entrances is a container containing another brain. Interact with the container to swap the brains, and then interact again to begin a 1-minute lockdown where you'll need to defend the Perfusion Machine.
Once the lockdown is complete, interact with the Perfusion Machine to pick it up, causing you to move at walking speed and take it to the main area of the Machina Astralis, where there is a device on a table you can place the Perfusion Machine on, and then hold interact to connect the Perfusion Machine to the device, completing this step.
Step 4: Obtain the Planet Neptune
Head to the Observatory Dome and interact with the Harmonic Oculus to re-enter the telescope, and line up the crosshair perfectly with Mars and remember the numbers displayed in the bottom left corner, next to the DEC label. If there are only three numbers displayed, then add in a 0 before the single digit. With that code, head back to the Machina Astralis and enter the code into the machine on the second floor, above the Armor Wall Buy.
Afterwards, head to the Perfusion Machine on the main floor and to the left of it will be a screen that will say "Dr. Thurston's Reading List". You need to remember all the book names displayed on the screen for the reading list which will be at least three books, but can be up to six.
Once you have all book names, head into the Archive of Orbis where you'll find three Head Busts and some bookshelves next to them. Each bookshelf has a total of three books on it that you can interact with to read their names, and is associated to the closest Head Bust to it. You must remember how many books names match your list on each Head Busts bookshelf, and that number, will be the number of times you need to turn the Head Bust by interacting with it.
The captions of the below images explain which book names are associated with each Head Bust.
For example, my reading list was The Black Veil, Witchlight Codex, The Unknowable Void. Therefore, I need to turn the first Head Bust once, the second once, and the third once.
If done correctly, the attic will be open and you can climb the ladder in the room and interact with the Planet Neptune to obtain it, completing this step.
Step 5: Align The Planets
You'll need to find three pieces of paper around the map, each containing a direction (NE, SW, SE, etc.) and a planet (Mars, Saturn, Neptune, etc.) that you'll need to remember. Each piece of paper can be found in the following locations:
With the correct planets and directions, head into the Machina Astralis and attach Neptune to the planet compass on the second floor, and begin shooting the three planets you had on your papers until they align with their directions found on the paper.
Once completed, interact with the Perfusion Machine to begin 2-minute defense lockdown where you'll need to prevent the O.S.C.A.R. drones from entering the portal by destroying them before they reach it. Listen out for the distinct noise they make when he summons them.
You do not need to destroy the drones for his Drone Shield, those will not go into the portal. He summons a separate set of drones that beep loudly and go straight for the portal.
Once completed, you will be sucked into the portal and transported to the planet Mars.
Step 6: Collect the Ascendant Eye
Now that you're on Mars, pick up the Perfusion Machine on the center platform and install it onto the pedestal where you spawned in, and once you hear a mystical chime and get a quote about a strange noise, head to the far north of the arena and aim out the window and shoot giant pylons in the following order:
- Back Right
- Back Left
- Front Right
- Front Left
Finally, shoot the last Pylon above the teleporter that brought you to Mars, luring the Ascendant Eye into the main map, where you'll need to wait for the periodically activating Anti-Gravity on Mars before jumping and interacting with it to collect the Ascendant Eye.
You can continuously shoot the final pylon to keep the Ascendant Eye in the arena. Otherwise, you'll need to flip round, interact with the Perfusion Machine at the top of the temple, and shoot each of the pylons again.
Step 7: Activate the Pylons
Place the Ascendant Eye in the pedestal in the far-right corner of the arena, which will reveal five rods on top of the pillars around the arena. You must shoot each of the rods with the LGM-1 wonder weapon to power them, indicated by the slight blue tone on the symbols at the bottom of each pillar.
With the symbols activated, head to the Observatory Dome and interact with the Harmonic Oculus to bring playing a tune that will show five symbols on the screen right of the piano keys. Of these five symbols, four will match symbols on the pillars on Mars, while the other "static noise" symbol represents the pillar symbol that is NOT in your code.
Once you have your code, head back to Mars and interact with the symbols on each pillar in that order, remember that the "static noise" represents the only symbol that was NOT shown in your code. If done correctly, you'll get a bright flash and can begin fully preparing for the boss fight.
Step 8: Defeat Caltheris
As always, ensure you are fully upgraded, field upgrade charged, and have Monkey Bombs, Kazimirs, or Stim Shots to help you during the fight. Then, interact with the Perfusion Machine to begin the final encounter against Caltheris.
The only enemies you'll be fighting in this boss fight are Shock Mimic zombies and Toxic Zombies as they spawn during most of the phases.
Phase 1
During this phase, Caltheris is a giant floating skull and you'll need to kill zombies in the arena to charge up a pylon, which once fully charged can be activated by interacting with the Perfusion Machine to fire a beam at Caltheris dealing a one-third of her health. You'll need to repeat this two more times to defeat this phase.
During this phase, Caltheris attacks are a giant, slow-moving laser that tracks players and some aerial bombs that should be avoided. There will also be a toxic gas cloud that spawns in some Toxic Zombies
Phase 2
During this phase, Caltheris transforms into a rock golem that you should shoot with the LGM-1 wonder weapon to break off her armor, revealing a blue weak point that you can focus on with your primary weapon for critical damage. Her attacks also change, where she'll throw rocks at you from a distance and do a ground slam if you are in melee range.
Constant movement is key for this phase, using wall jumps and anti-gravity to avoid the rocks and maintaining distance to prevent her from ground slamming you. You can also turn your back to her during the ground slam if you have the
Guns Up for
Stamin-Up is also helpful if you have it.
Phase 3
During this phase, Caltheris becomes Caltheris Ascendant a bigger, stronger version of Phase 2. Her attacks are the same, but they're bigger and stronger so the plan remains the same, but with more importance on avoiding her attacks and maintaining distance. Again, use the LGM-1 wonder weapon to break off her armor, before focusing her crit spots with your main damage weapon.
Really try to utilize the pathing of the boss to your advantage with the Anti-Gravity to try and get the boss to constantly be mantling or blocked by cover instead of throwing attacks at you.
Phase 4
During this phase, Caltheris Ascendant becomes Caltheris The Needle and is again bigger, stronger, and even faster this time, but she also gains a new attack which leaves
a pool of damaging aetheric energy that you MUST avoid, these do significant damage, easily killing you if you are in it for more than a couple of seconds. With the ![]() Environmentalist
augment for
Environmentalist
augment for ![]() PHD Flopper you can avoid all damage by sliding through these pools.
PHD Flopper you can avoid all damage by sliding through these pools.
Veytharion will also grant you a Veytharion's Blessing Power-Up which will grant you infinite lethals and reserve ammo so you can lay into the boss with no ammo concerns. This is extremely useful for after her armor is broken to melt her health with your main damage weapon.
Congratulations, you have completed the Astra Malorum main quest!
Video Guides
Guide by Doughnuts
Guide by NoahJ456

Ashes of the Damned
A new world, a new enemy and some strangely familiar allies. Uncover the secrets of the Dark Aether's most dangerous corner and face the primordial power of its ancient guardian.
Paradox Junction
Killing time was never this much fun! Play gruesome games with the creepy Twins, destroy the Dark Heart and escape the warden's temporal prison!